“Most home cooks waste more time peeling garlic than they ever should. Learning how to peel garlic quickly is easier than you think — The good news? Professional chefs cracked this problem decades ago, and their tricks take seconds, not minutes.”
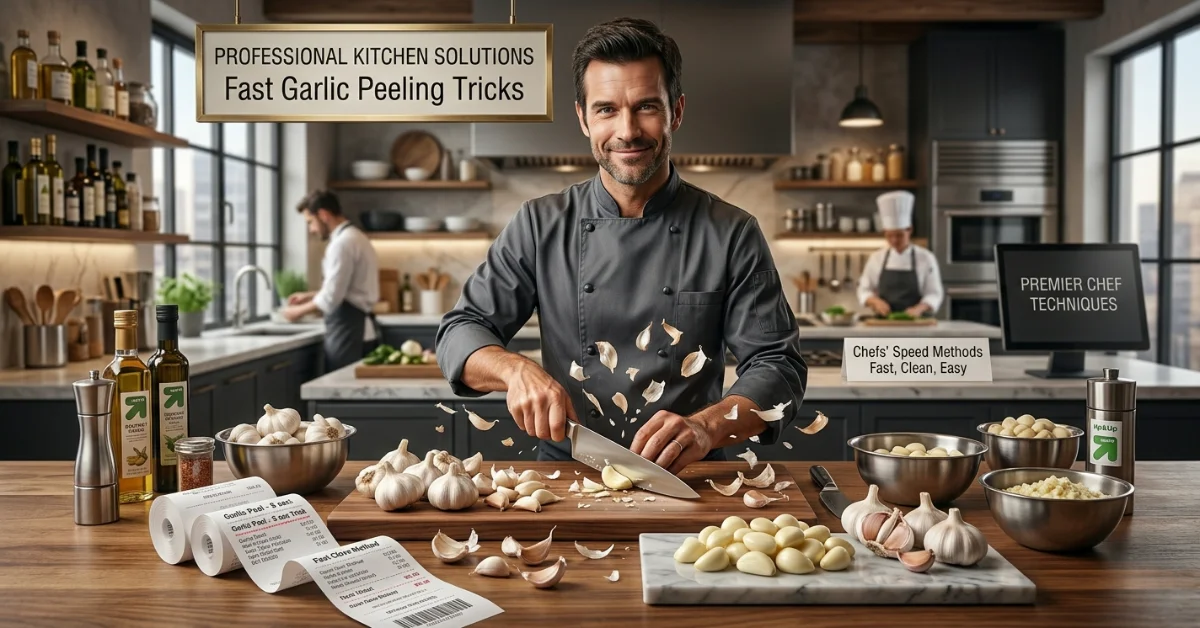
This guide covers every tested method, the science behind each one, and the mistakes most people make without realizing it.
Why Peeling Garlic Feels Like a Chore (And Why It Doesn’t Have To)
You pick up a clove. You dig at the papery skin with your fingernail. It sticks. It tears. Your fingers smell like garlic for the next three hours.
Sound familiar? You’re not doing it wrong — garlic is just built to be stubborn.
The Real Reason Garlic Skin Sticks to the Clove
Garlic cloves are wrapped in a thin, dry, papery membrane that clings tightly to the flesh underneath. When a clove is fresh and well-hydrated, the skin bonds closely to the surface.
Here’s the science: when garlic is cut or bruised, an enzyme called alliinase reacts with sulfur compounds inside the clove to produce allicin — the compound responsible for garlic’s sharp aroma and most of its health benefits. These sulfur compounds also make the skin sticky and clingy, which is why fighting with fresh garlic is harder than peeling an older bulb.
The drier the skin, the easier the peel. This is a fact, not a tip.
For more info: How to Use Google Docs Offline – Easy Step-by-Step Guide
Fresh vs. Older Garlic — Which Is Actually Easier to Peel?
Counterintuitively, slightly older garlic peels faster. A bulb that has been sitting in a cool, dry place for a week or two naturally develops looser skin.
Fresh garlic from a farmers market or grocery delivery is beautiful — but the moisture content makes the papery peel cling tight. If you have time, let your garlic air-dry for a day before peeling. It makes a real difference.
Quick tip: When shopping, look for firm, plump bulbs with dry, tight outer layers. Avoid anything with soft spots, green sprouts poking out, or shriveled skin.
Does the Peeling Method Affect Garlic’s Flavor and Allicin Content?
Yes —According to food science research, allicin production begins the moment garlic tissue is damaged. The knife-smash method actually produces more allicin than any other peeling technique because it crushes the cell walls, triggering the enzymatic reaction immediately.
The microwave method, on the other hand, uses heat, and heat degrades allicin. Studies suggest microwaving can reduce allicin content by up to 40% compared to mechanical peeling. If you’re using garlic for its health properties, this matters.
How to Peel Garlic Quickly — Chef-Tested Methods Ranked
Here are six methods that have been tested, compared, and ranked honestly. Each one works — but some work better depending on how much garlic you need and what your recipe calls for.
The Knife Smash Method (The Classic Chef Move)
Best for: 1–6 cloves | Speed: Fast | Skill needed: Low
This is the method used in professional kitchens around the world. It’s reliable, fast, and requires zero gadgets.
How to do it:
Place a single garlic clove flat on a sturdy cutting board. Lay the flat side of a wide chef’s knife over the top. With the heel of your palm, press down firmly — you’ll hear the skin crack. Slide the skin off. Done.
Why it works: The pressure breaks the bond between the garlic flesh and the membrane. The papery outer layer splits open and peels away cleanly.
The only downside is that the clove gets partially crushed. If your recipe needs whole cloves for presentation — braised garlic, confit, or skewers — this isn’t your best option. But if you’re mincing, chopping, or making a garlic paste, the crush only helps flavor development.
Pro tip from restaurant kitchens: Avoid ceramic knives for this. They can chip or crack under that kind of lateral pressure. Use a heavy stainless steel chef’s knife.
The Jar Shake Trick (TikTok Famous — But Does It Really Work?)
Best for: 10–30 cloves | Speed: Medium | Skill needed: None
This method went viral on social media and made everyone excited. The reality is more nuanced.
How to do it:
Separate your garlic head into individual cloves. Drop them all — skins still on — into a large glass mason jar or metal container. Seal the lid tight. Shake vigorously for 20–30 seconds. Open and check.
Why it sometimes works: The friction between the cloves and the jar walls causes the skin to loosen and separate. It works best with older garlic where the papery skin is already slightly loose.
The truth: This method delivers inconsistent results with very fresh garlic. Some cloves peel beautifully. Others still need hand-finishing. Tested across multiple garlic heads and jar sizes, the results vary significantly.
Where it shines is bulk peeling — if you need an entire head of garlic peeled for a big batch of garlic paste, roasted garlic, or Lebanese Toum, the jar method gets you 70–80% of the way there quickly. Finish the stubborn ones by hand.
Pro tip: Use a metal bowl with another bowl flipped over the top instead of a jar. Metal-on-metal creates more friction and better results than glass.
The Microwave Hack (Fastest — But With a Real Catch)
Best for: 2–4 cloves | Speed: Very fast | Skill needed: None
Place unpeeled cloves on a microwave-safe plate. Microwave for exactly 10–15 seconds. Remove, let cool for 10 seconds, then pinch the base of each clove — the garlic slides right out.
Why it works: The brief heat causes moisture inside the clove to expand rapidly, creating steam between the flesh and the skin. The skin loosens and slips off with almost zero effort.
The catch: You are partially cooking the garlic. At 15 seconds, the outer layer softens noticeably. At 30 seconds, the clove starts losing its raw bite entirely. Allicin degrades under heat, which reduces both flavor intensity and nutritional value.
Reserve this method for garlic going straight into a long-cooked dish — a stew, a braise, or a slow-simmered tomato sauce — where raw garlic sharpness isn’t needed anyway.
Do not exceed 15 seconds. The difference between perfectly loosened and slightly cooked is just a few seconds.
The Bowl Shake Method (Best for Bulk Peeling)
Best for: 20+ cloves | Speed: Fast | Skill needed: None
This is the professional prep cook’s secret for peeling large quantities of garlic fast.
How to do it:
Place all separated, unpeeled cloves into a large metal mixing bowl. Flip a second bowl of similar size upside down over the first, creating a sealed sphere. Hold both firmly and shake hard — up and down, side to side — for about 15–20 seconds.
The cloves collide against each other and the metal surface. Open the bowls, sort the cloves from the skins, and discard.
Why this beats the jar: Metal bowls create more surface impact than glass. The cloves have more room to move. Results are more consistent across a full head or multiple heads.
This is the method closest to what professional chefs use in restaurant prep work when breaking down large amounts of garlic for the week ahead.
Soaking in Warm Water (The Hands-Off Approach)
Best for: Whole bulbs | Speed: Slow but hands-free | Skill needed: None
Separate the garlic cloves from the bulb and soak them in warm water for 5–10 minutes. The water hydrates and softens the papery membrane, making it far less adhesive. After soaking, the skin peels away with very little force.
The downside: Time. You need to wait. But this is genuinely useful when you’re doing other kitchen prep simultaneously and don’t want to rush the process.
It also works particularly well with hardneck garlic varieties, which tend to have thicker skins than softneck types.
Silicone Garlic Peeler Tube (Worth Buying?)
Best for: 1–5 cloves | Speed: Medium | Skill needed: None
A silicone garlic peeler tube is a small, inexpensive kitchen tool — usually $5–10 — that uses rolling friction to remove the skin while keeping the clove fully intact.
How to do it: Drop one clove inside the tube. Press down gently and roll it back and forth on the countertop for 5–7 seconds. Remove the clove — skin stays inside the tube.
It’s clean, quiet, and leaves the clove undamaged. Perfect when a recipe requires whole peeled cloves for roasting or confiting in olive oil.
The limitation is speed. It’s a one-clove-at-a-time tool. For more than 6 cloves, it becomes tedious fast.
How Professional Chefs Peel Garlic — Restaurant Secrets Revealed
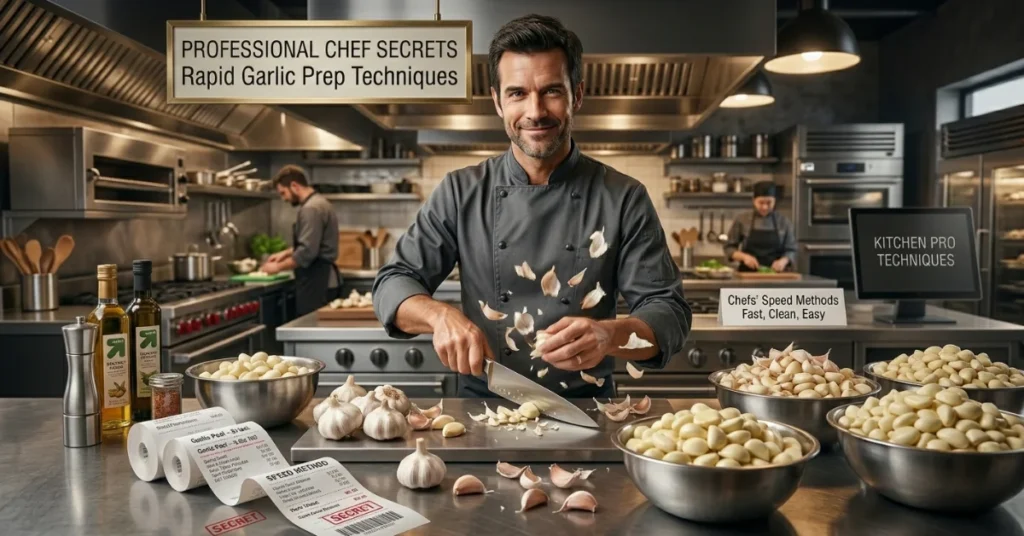
Home cooks and restaurant chefs don’t peel garlic the same way — and the difference is mostly volume and workflow, not skill.
What Top Chefs Actually Do
In professional kitchens, the knife smash method is the daily workhorse for small quantities. It’s fast, it’s precise, and it builds flavor simultaneously by releasing allicin early.
Top Chef alumni and culinary instructors consistently name the knife smash as their go-to move. The key detail most people miss: chefs separate the entire garlic head at once before starting. They push down on the whole bulb with both palms until every clove separates cleanly from the root. Then they work through each clove quickly — smash, peel, move on.
For larger batches, professional prep cooks use the bowl shake method or submerge separated cloves in water briefly before peeling — especially for services where hundreds of cloves are needed for stocks, sauces, and marinades.
How to Peel a Whole Head of Garlic in Under 10 Seconds
This is a real technique, not a clickbait claim — but it requires the right setup.
Here’s how:
Place the entire unpeeled garlic bulb on the cutting board with the root end facing up. Press down hard with both palms until you feel and hear the cloves separate. Now you have a pile of loose, unpeeled cloves. Transfer them all into a large metal bowl, cover with a second bowl, and shake hard for 15–20 seconds.
The “under 10 seconds” part refers to the initial breaking and separation of the bulb — the shake adds another 15–20 seconds but requires no active attention.
If you need cloves absolutely intact, use the silicone tube on pre-separated cloves after the initial hand-break.
The Right Way to Separate Garlic Cloves Before Peeling
Always start at the root end. Place the bulb root-side up and push down with your full palm weight. The cloves release cleanly from the base without tearing.
If you hold the bulb stem-side up and push, the cloves resist more. Root-side-up is the correct orientation — it’s not obvious until someone tells you.
Pro Tips to Peel Garlic Without Stinky Fingers or Sticky Mess
How to Remove Garlic Smell From Your Hands
Rubbing your hands on stainless steel — a bowl, the back of a spoon, or the kitchen sink itself — neutralizes the sulfur compounds that cause garlic odor. This works because stainless steel binds to the sulfur molecules and pulls them off your skin. Rinse with cold water after.
Washing with dish soap alone traps the smell rather than neutralizing it.
The 15-Minute Garlic Rule — What It Is and Why It Matters
The 15-minute rule is one of the most important — and least-known — facts about garlic nutrition.
When garlic is crushed or chopped, the enzyme alliinase begins converting alliin into allicin. This process takes time. Research from the American Institute for Cancer Research shows that waiting 10–15 minutes after crushing before cooking or consuming garlic allows the full allicin conversion to complete.
If you chop garlic and immediately throw it into a hot pan, the heat deactivates alliinase before allicin can fully form. You lose a significant portion of garlic’s antioxidant and anti-inflammatory compounds.
Practical application: Crush or mince your garlic first. Set a 15-minute timer. Then start cooking. This simple habit preserves far more of garlic’s beneficial compounds.
Common Garlic Peeling Mistakes You’re Probably Making
Using your fingernails instead of a proper technique damages the nail and leaves residue under your nails. It’s slow and unnecessary.
Peeling too far in advance without proper storage causes peeled garlic cloves to dry out, lose moisture, and develop off-flavors within hours if left uncovered.
Not removing the green germ — if your garlic has a small green sprout running through the center, remove it before using in raw preparations. It’s not harmful, but it tastes bitter and sharp. In cooked dishes, it’s fine to leave it in.
Skipping the root-end trim on cloves meant for presentation. A small trim at the root end helps any remaining skin peel away with zero resistance.
How to Store Peeled Garlic the Right Way
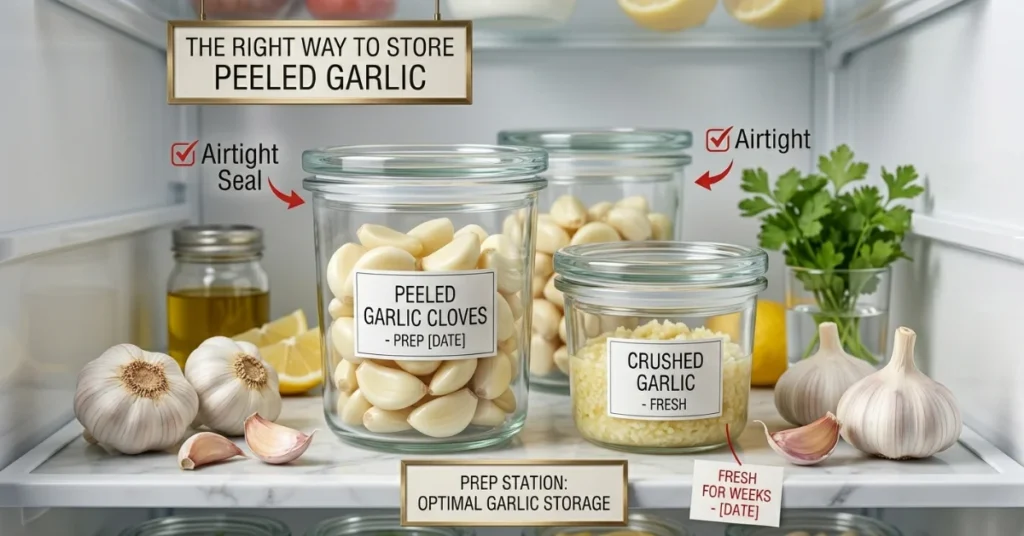
Peeling a big batch of garlic at once is a smart kitchen workflow — but only if you store it correctly.
How Long Does Peeled Garlic Last in the Fridge?
Peeled garlic cloves stored in an airtight glass container in the refrigerator stay fresh for 5–7 days. Some sources cite up to 10 days, but flavor and texture begin to degrade noticeably after one week.
Important: Never store peeled garlic submerged in oil at room temperature. This creates an oxygen-free environment that is a known risk for botulism (Clostridium botulinum). The USDA advises keeping garlic-in-oil preparations refrigerated and using them within 7 days.
Can You Freeze Peeled Garlic?
Yes — and it works extremely well for cooked applications.
Lay peeled garlic cloves flat on a parchment-lined tray. Freeze for one hour until solid. Transfer to a ziplock freezer bag, removing as much air as possible. Frozen garlic keeps its potency for 3–4 months.
To use: grate frozen cloves directly into a hot pan (no thawing needed). They actually grate more cleanly from frozen than fresh.
Do not use frozen garlic in raw preparations — the cellular structure changes after freezing, making the texture soft after thawing.
Best Containers for Storing Peeled Garlic
Glass airtight jars are the best option. Glass doesn’t absorb garlic odor or flavor, and the airtight seal prevents moisture loss. A small mason jar or repurposed spice jar with a tight lid works perfectly.
Plastic containers work but absorb sulfur compounds over time — you’ll notice your container permanently smells like garlic after a few uses.
Avoid leaving peeled cloves uncovered on a plate or in an open bowl in the fridge. They dry out fast and pick up flavors from other stored foods.
FAQ — Everything You Wanted to Know About Garlic
Is Garlic Good for Colon Inflammation?
Yes. Research supports garlic’s role in reducing gut inflammation. Allicin — garlic’s primary active compound — has demonstrated anti-inflammatory and antimicrobial properties in multiple peer-reviewed studies. A 2020 review published in Nutrients found that garlic’s organosulfur compounds help modulate the gut microbiome and reduce markers of intestinal inflammation.
However, some people with conditions like Irritable Bowel Syndrome (IBS) or Crohn’s disease may find that raw garlic irritates the gut lining. Cooked garlic is generally better tolerated in these cases. Always consult a physician before using garlic therapeutically for any digestive condition.
How Do Professional Chefs Peel Garlic?
Professional chefs rely primarily on the knife smash method for small quantities and the bowl shake method for bulk prep. They always separate the entire bulb first by pressing down with both palms, root-side-up. Speed comes from workflow — not from any special skill. Most chefs prep garlic in batches at the start of a shift and store peeled cloves in airtight containers in the walk-in refrigerator.
How to Peel a Head of Garlic in Less Than 10 Seconds?
Press down on the whole garlic bulb (root-side up) with both palms to separate all cloves at once. Place them into a large metal bowl, cover with a second bowl, and shake hard for 15–20 seconds. This peels most or all cloves in one fast motion. The active “hands-on” part of breaking the bulb takes under 10 seconds. The shake is passive.
What Is the 15-Minute Rule for Garlic?
The 15-minute rule states that after crushing or chopping garlic, you should wait 10–15 minutes before applying heat or consuming it. This waiting period allows the enzyme alliinase to fully convert alliin into allicin — garlic’s most potent beneficial compound. Cooking garlic immediately after cutting deactivates alliinase with heat before full allicin production can occur. Letting it sit first locks in the maximum nutritional value.
What Happens If You Eat One Clove of Garlic Every Day for 30 Days?
Consistent research points to measurable health benefits. A 2016 meta-analysis in the Journal of Nutrition found that regular garlic consumption is associated with reductions in total cholesterol and LDL (“bad”) cholesterol. Additional studies suggest daily garlic intake supports immune function, helps regulate blood pressure, and contributes to reduced oxidative stress through its antioxidant organosulfur compounds.
Over 30 days, most people also notice garlic’s antimicrobial effects — it’s been studied against common bacterial strains, including H. pylori, which is linked to stomach ulcers. Individual results vary based on quantity, preparation method, and overall diet. Raw garlic produces the highest allicin yield; cooked garlic produces milder but still beneficial compounds.
Why Wait 10 Minutes Before Eating Garlic?
Waiting 10–15 minutes after cutting or crushing garlic — before eating or cooking it — allows the enzymatic reaction that creates allicin to complete. Heat and stomach acid both deactivate alliinase, the enzyme that drives this reaction. If you cut garlic and immediately eat it or heat it, you interrupt the process before allicin fully forms. The 10-minute wait is a simple, evidence-backed habit that maximizes the nutritional value of every clove you use.
Conclusion:
Peeling garlic doesn’t need to be the part of cooking you dread. The knife-smash method handles everyday cooking perfectly. The bowl shake method handles bulk prep without the fuss. And understanding the 15-minute rule and allicin science makes every clove you peel work harder for your health.
Choose your method based on volume and recipe. Skip the gadgets unless you’re using only a few whole cloves regularly. Store peeled garlic properly, and it’s ready whenever you need it.
Good garlic technique is a small habit — but it changes how you cook every single day.